
Reviewed · PHOTOGRAPHY SESSIONS
Photo Tour “Jan van Eyck”
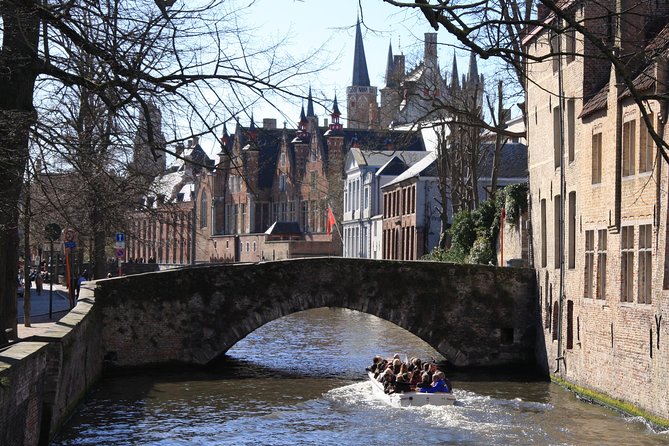
Bruges is pretty, but this photo tour is about getting you to see it like a photographer. You follow a set route through classic Jan van Eyck spots, and the guide keeps nudging you toward better angles and more intentional framing. I like the small group size and the way the route hits the city’s most picture-ready corners without you needing a map, thanks to a guide.
Two things I’d bet you’ll enjoy right away: the chance to practice with real subjects like canals and bridges, and the guide’s hands-on coaching from start to finish. One thing to keep in mind, because it matters in Bruges, is that this experience is weather dependent, so plan for a bit of flexibility.
Key things to know before you go
- Max 12 travelers, so you get real attention instead of being lost in a loud crowd
- Photo coaching built into the walk, not tacked on at the end
- Practical landmark stops that photographers actually use, like Rozenhoedkaai and Nepomucenus Bridge
- Admission tickets included for several stops, so you are not constantly stopping to buy entry
- Mobile ticket, handy for quick checks while you are moving
Why a Jan van Eyck photo walk makes Bruges easier to shoot
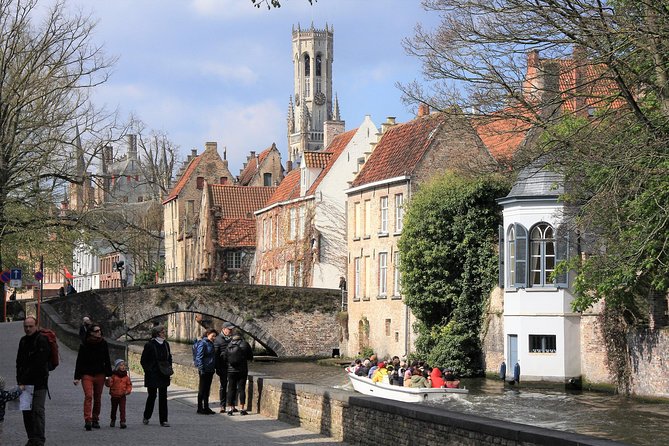
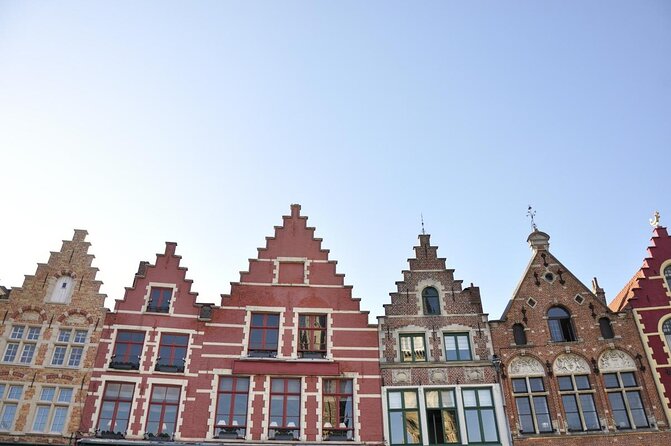
This tour is interesting because it turns Bruges from a place you wander into a place you sequence. You do not just arrive at a famous view, snap, and move on. Instead, you walk with a plan and get guidance on how to capture what the city is already offering, canals, bridges, and that medieval-town texture that photographs well even when the light is tricky.
I like that the tour starts with helping you get your bearings fast. That matters in Bruges because the streets twist, the canals pull your attention sideways, and it is easy to spend the first half hour “finding the vibe” instead of taking photos. A guided route cuts through that.
The other reason this format works is the focus on repeatable skills. The guide does not just point at pretty spots. You get advice on how to frame and shoot so you can keep improving after the last photo.
More Photo Tours in Bruges
- “Hidden Brugge” Photo Tour – 2hr open city tour & workshop
★ 5.0 · 27 reviews - “Edges of Brugge” Photo Tour – 2hr open city tour & workshop
★ 5.0 · 25 reviews - “Shades of Brugge” Photo Tour – 3hr private city tour & workshop
★ 5.0 · 13 reviews
Meeting at Historium BrugesMarkt, then finishing at Nepomucenus Bridge
You meet at Historium BrugesMarkt 1 at 1:30 pm, and the walk ends near Nepomucenus Bridge (Dijver). The tour is about 2 hours. The start and end locations are close enough that you do not feel stuck at the far end of town.
The group size is small, capped at 12 travelers, so you will likely hear the guide clearly. You will also move at a pace that leaves time for picture breaks at each stop. This is not an all-day photo shoot where you vanish behind your camera.
You bring your mobile ticket, and you get confirmation after booking. Service animals are allowed, and the route is near public transportation, which is useful if you want to pair this with other Bruges plans the same day.
One practical note
This is a short tour, so wear shoes that handle cobblestones and short stops. You will be standing in places for photos, and Bruges can feel deceptively hard on your feet.
Stop 1: Poorters Loge (Burghers’ Lodge), a strong “first frame” lesson
Your first stop looks simple, but it is a smart way to start. The guide takes you to Poorters Loge, also called Burghers’ Lodge, known as the first office building in the world. Yes, it is a history stop, but it is also a photo stop.
At the start of a photo tour, you want two things: a landmark you can orient around and a building that gives you lines to work with. Office buildings and façades are great for practicing composition because you can use straight edges, doorways, windows, and shadows.
Admission is included here, so you do not have to negotiate tickets mid-walk. That keeps the flow moving while you focus on shooting.
Something different while you are in Bruges:
- Bruges: Small Group Boat Cruise and Guided Walking Tour
★ 4.8 · 4,102 reviews - Bruges: Guided Tour & Boat Ride with Optional Beer Tasting
★ 4.4 · 3,894 reviews - Historical Walking Tour: Legends of Bruges
★ 5.0 · 2,541 reviews - Bruges: Choco-Story Museum with Audio Guide and Tastings
★ 4.2 · 1,825 reviews
What to try with your camera
Look for ways to shoot the building so you get depth, not just a flat postcard. Even a small change in your angle can make the scene feel more “three-dimensional,” especially when you include nearby architectural details.
Stop 2: Jan Van Eyckplein, the old harbour energy
Next you move to Jan Van Eyckplein. The setting is tied to medieval harbour activity, which is exactly what makes it photogenic. Harbour-era places give you motion even when nothing is happening, because the spaces were designed for movement, loading, and arrivals.
You get about 15 minutes here, which is enough to try a few different framing ideas. I like that the tour does not rush you through, because this is where your camera habits start to click.
Admission is included, so you can spend your attention on the view rather than logistics.
Photo goal for this stop
Aim for variety. Try one tighter shot that emphasizes architectural details, then a second wider frame that shows the square’s layout and your position within it. A guide helps because you get told where to stand for the cleanest lines.
Stop 3: Groenerei, a “special spot” where you practice placement
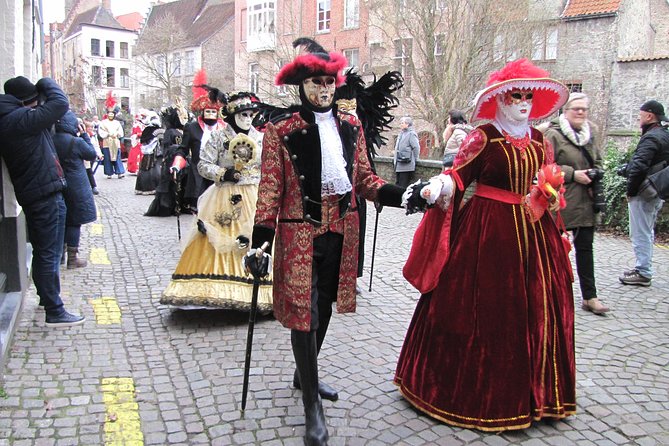
You then head to Groenerei. This stop is described as a spot you are asked to stand in, with a surprise element. That is usually code for “stand here, shoot this way, and you will see why it matters.”
You also get 15 minutes. That time window matters because Groenerei-style views are often about getting the right relationship between water, buildings, and your camera height.
Admission is included, which supports the idea that this stop is more than just stopping on the street corner. The guide likely wants you to experience a viewpoint that improves your photo outcome.
What to focus on
When you are shooting canals and rivers, reflections can be your friend or your distraction. Use the guide’s instructions to decide when to prioritize the reflection and when to avoid it for clarity. This is where you start learning how a photographer decides, not just what a photographer aims at.
Stop 4: Vismarkt, a quick stop with strong scene texture
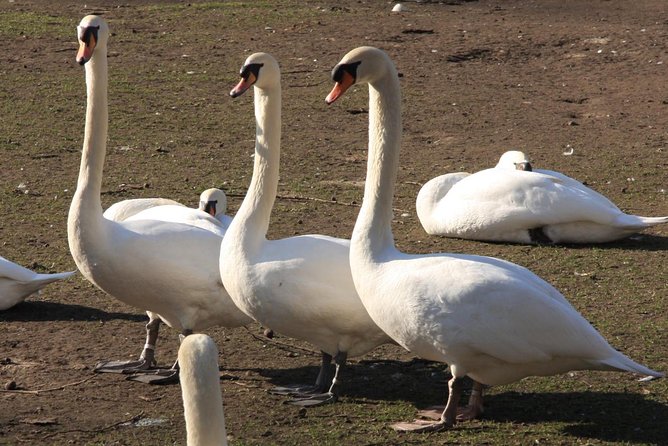
At Vismarkt, you get about 5 minutes. This is a “blink and you’ll miss it” stop, but that is not a problem if you treat it like a warm-up sprint.
It used to be a fish market, and that kind of past is visible in how the area reads. You often get good street-level context here: a sense of daily life rather than only the grand views.
Admission is included. That keeps the stop short and avoids the usual hassle of finding where to go.
Photo strategy for a short stop
Choose one primary photo idea and one backup. If you wander for five minutes with no plan, you will end up with lots of similar shots. If you commit to one idea, the camera will help you refine it.
Stop 5: Huidenvettersplein (Tanners Place), quick portraits of the city’s trades
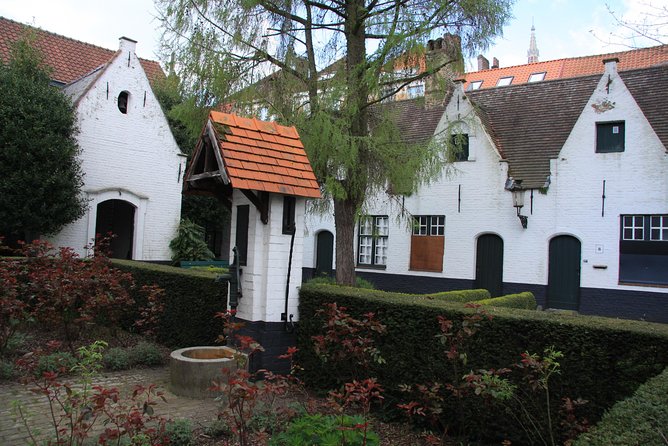
Next is Huidenvettersplein, also called Tanners Place. This is another short stop at about 5 minutes, but the trade-focused name is useful. Places linked to specific crafts often have distinct street geometry and a “worked-in” feeling.
This stop can give you texture shots that complement the big canal views you will get later. Think: building materials, small details, and the rhythm of the street.
Again, admission is included here, so you are not forced into extra waiting time. That is a real value for a two-hour tour.
What to try
Instead of chasing the widest view, look for details that tell you the city used to be practical, not only pretty. These are the images that keep your photo set from feeling repetitive.
Stop 6: Rozenhoedkaai (Quai du Rosaire), the classic postcard view done properly
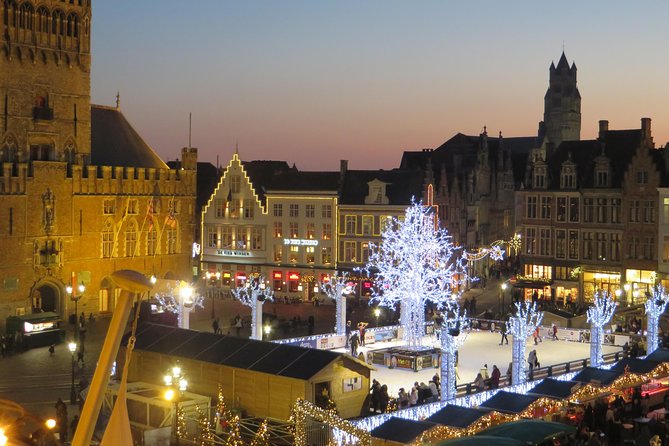
Then comes Quai du Rosaire / Rozenhoedkaai, and yes, it is described as the most photographed view of the city. But a “most photographed” place is not automatically a “best shot” place. This is where a guide earns their fee by teaching you how to get a strong version of a famous scene.
You get 5 minutes, which means this is not the time to experiment endlessly. You want to follow the guide’s instruction and make quick choices.
Admission is included, which suggests you get access that helps you shoot from a better viewpoint. That is what separates tourist snapshots from photos that look like they were made with intention.
The practical coaching element
One of the strongest themes from the experience is that the guide works with you on the actual act of taking photos, not just telling stories. You might get advice on where to position yourself, how to frame the bridge and water, or how to handle moving elements like birds.
From what I’ve picked up about how Ivan guides, he even shares small observational stories, like a swan story, that can help you anticipate what will be in your frame. That kind of detail is the difference between random captures and images that feel alive.
Stop 7: Nepomucenus Bridge, the final pro-style frame
You finish at Nepomucenusbrug. This is the last picture, and it is described as something only professionals see. That phrasing might sound dramatic, but the idea is consistent: the end stop is where you apply what you learned in the earlier stops.
You get about 5 minutes. Admission is free here. You use the last minutes to nail a final composition that feels complete, usually by tightening up the view and refining your angle.
How to use the last stop well
Treat it like your “edit pass.” Choose the best spot you were taught, then shoot a small set of variations. A pro-style shot often means fewer frames, better decisions, and cleaner composition.
The photography tips you’ll actually take with you
This tour is built around more than just locations. You get ongoing advice on taking great photos, and the pace is short enough that the tips stay fresh.
Here are the kinds of improvements you can expect to practice during a route like this:
- Framing with purpose: you learn to decide what the main subject is, then build the rest of the scene around it
- Standing position matters: tiny shifts in angle or height can change how lines converge
- Water and reflections: you learn how to treat them as either support or distraction
- Quick decision-making: short stops force you to choose a shot, not just wander and hope
- Story inside the scene: even trade-related places like Tanners Place can become photo details, not just background
And because the group is small, you can ask questions without waiting for a moment. That is also where a guide like Ivan, who loves the city and shares stories with energy, can make the whole experience feel more like coaching than following.
Weather, timing, and what to do if conditions are not perfect
This photo tour requires good weather. If the weather is poor, you are offered a different date or a full refund. In other words, it is not a “go rain or shine” situation where you suffer through and then rush to the end.
My advice: check the forecast the day before and again the morning of. Bruges can shift quickly, and light changes affect how canals and stone façades photograph.
Also, bring layers. A 2-hour walk can feel warm or cold depending on wind off the water.
Is it worth $47.50? Value in coaching plus ticketed stops
At $47.50 per person for about 2 hours, the price is not just “pay for a walk.” You are paying for a small-group photo-guided route with tips along the way, plus admission tickets included for multiple stops.
That matters for value because you are not only getting someone to lead you. You are also getting help to shoot better, and you avoid scrambling for tickets mid-day. A two-hour window is short enough that the coaching stays focused, but long enough to hit several landmark types, building façades, harbour squares, canals, and a bridge finale.
I also like that it is typically booked in advance, which usually signals demand for the route format and guide experience. If you want good availability, book sooner rather than later.
Who should book this Jan van Eyck photo tour, and who should skip it
Book it if you want:
- a structured way to shoot Bruges without studying a map
- practical photo tips you can reuse the next day
- a small-group tour with time at key photo locations
You might skip it if:
- you dislike short, scheduled stops and prefer long, independent exploration
- you are not comfortable walking cobblestones for a couple hours
- weather is unpredictable for your dates and you hate rescheduling
This is also a good fit for couples and small families where everyone wants photos, not a history lecture with no camera time. And because most travelers can participate, it works for a broad range of fitness levels.
Should you book it?
I’d recommend booking this Jan van Eyck photo tour if your goal is to get better images of Bruges with less guesswork. The combination of a small group, a clear route through famous and useful photo spots, and real guidance on how to shoot makes it feel like coaching you can carry forward.
If you want a “do-it-yourself” Bruges experience with total freedom, you can always go on your own. But if you’d rather trade random wandering for a focused plan and a guide who helps you find the best angles fast, this one is a strong choice. Keep an eye on the weather, then go with a camera ready to shoot, not just to admire.
FAQ
Where does the tour start?
The tour starts at Historium BrugesMarkt 1, 8000 Brugge, Belgium.
Where does the tour end?
The tour ends at Nepomucenus Bridge, Dijver, 8000 Brugge, Belgium.
What time does the tour begin?
The start time is 1:30 pm.
How long is the photo tour?
It lasts about 2 hours.
How much does it cost?
The price is $47.50 per person.
How big is the group?
The tour has a maximum of 12 travelers.
Do I get a mobile ticket?
Yes, the tour uses a mobile ticket.
Are admission tickets included?
Admission tickets are included for several stops, while Nepomucenus Bridge is listed as free.
Is good weather required?
Yes. The experience requires good weather, and if it is canceled for poor weather you will be offered a different date or a full refund.
What is the cancellation window?
You can cancel for a full refund up to 24 hours before the experience’s start time. If you cancel less than 24 hours before, you will not receive a refund.
Reviewed lately in Bruges
- Belgium’s Gems: Bruges & Ghent Full Day Shore Trip from Zeebrugge★ 4.5 · 3 reviews
- Private 3-hour walking tour of Bruges with official tour guide★ 4.0 · 3 reviews
- Bruges: Ticket Volkskundemuseum (Folk Museum)★ 5.0 · 3 reviews
- Bruges Photo Session By a Pro★ 5.0 · 3 reviews
- Explore the Instaworthy Spots of Bruges with a Local★ 5.0 · 3 reviews
- Bruges: Private custom tour with a local guide★ 4.9 · 3 reviews
- Self-Guided Secrets Tour – Explore Bruges & Miss nothing★ 5.0 · 4 reviews
- Family Friendly Guided Bike Tour from Bruges to Flatlands★ 5.0 · 4 reviews
Photography Sessions, compared.
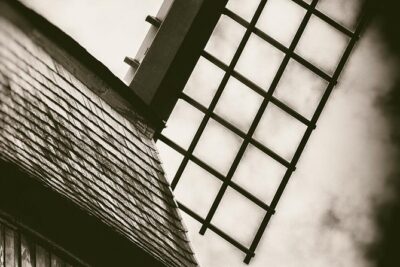
“Hidden Brugge” Photo Tour – 2hr open city tour & workshop
Read our review →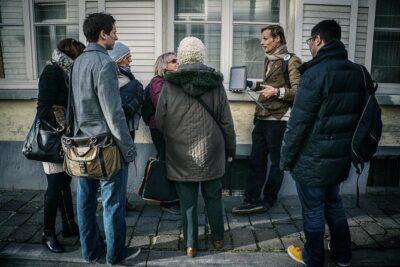
“Edges of Brugge” Photo Tour – 2hr open city tour & workshop
Read our review →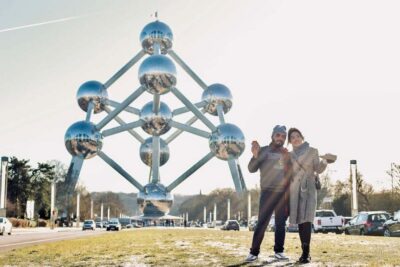
Brussels City Photoshoot With a Professional Photographer
Read our review →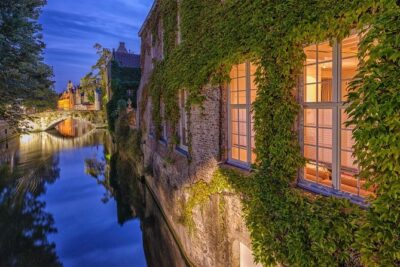
“Shades of Brugge” Photo Tour – 3hr private city tour & workshop
Read our review →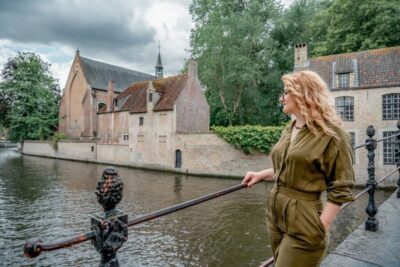
Bruges : Your private 30min. photoshoot in the medieval city
Read our review →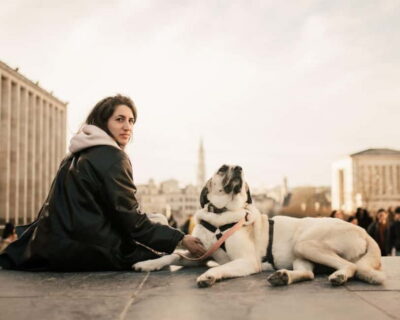
Brussels Private Photoshoot with a Professional Photographer
Read our review →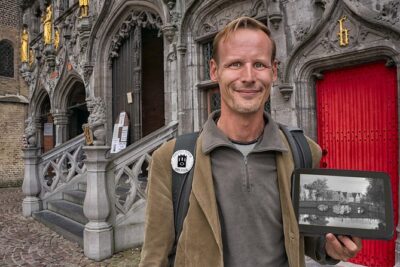
“Essential Brugge” Photo Tour – 3hr private city tour & workshop
Read our review →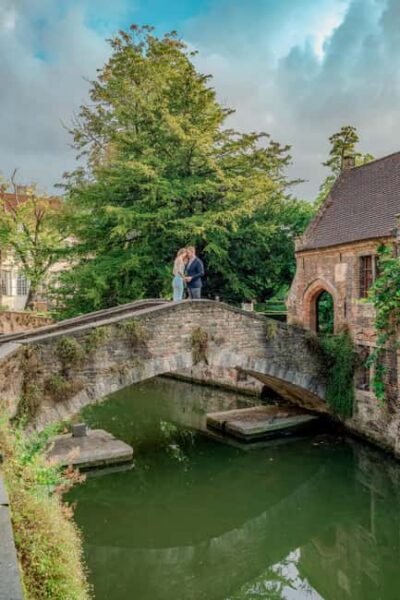
Bruges : Your private 1 hour photoshoot in the medieval city
Read our review →Browse the lists this tour appears in